

Writing a food blog involves much more than publishing a recipe. Between writing introductions, explaining cooking steps, researching ingredients, organizing ideas, creating social media content, and updating older posts, writing can quickly become one of the most time-consuming parts of food blogging.
The right writing tools for food bloggers can make that process easier. They can help you catch grammar mistakes, improve readability, organize recipe ideas, save research, manage your content schedule, and stay focused when distractions start getting in the way.
But you don’t need dozens of apps to become a more productive writer. In fact, constantly switching between tools can create more work instead of saving time.
A few well-chosen tools that fit naturally into your workflow are usually enough. In this guide, we’ll look at some of the best writing tools for food bloggers to help you plan, write, edit, organize, and publish better content more efficiently.
What Writing Tools Do Food Bloggers Actually Need?
The best writing setup depends on how you create and manage your content. A blogger publishing one recipe a week may need only a simple writing and editing setup, while someone managing several websites or publishing frequently may need additional tools for research, organization, and content planning.
If your biggest challenge is polishing articles before publication, a good grammar and readability tool may be enough. It can help catch spelling mistakes, awkward sentences, unnecessary repetition, and instructions that could be clearer for readers.
But writing a food blog usually involves more than editing paragraphs. You may be collecting recipe ideas, researching ingredients, saving useful sources, planning seasonal content, keeping track of posts that need updating, and managing deadlines at the same time.
For most food bloggers, the most useful writing tools help with five areas: drafting, editing, research, organization, and focus. Some tools specialize in one of these jobs, while others can handle several parts of the workflow.
Writing is only one part of the workflow. If you also need help managing projects, calendars, files, automation, and everyday blogging tasks, see our guide to the best productivity tools for food bloggers.
You don’t need a separate app for every task. In many cases, a small combination of reliable tools works better than a complicated collection of apps you rarely use.
The goal is simple: spend less time managing the writing process and more time creating useful recipes and content your readers actually want.
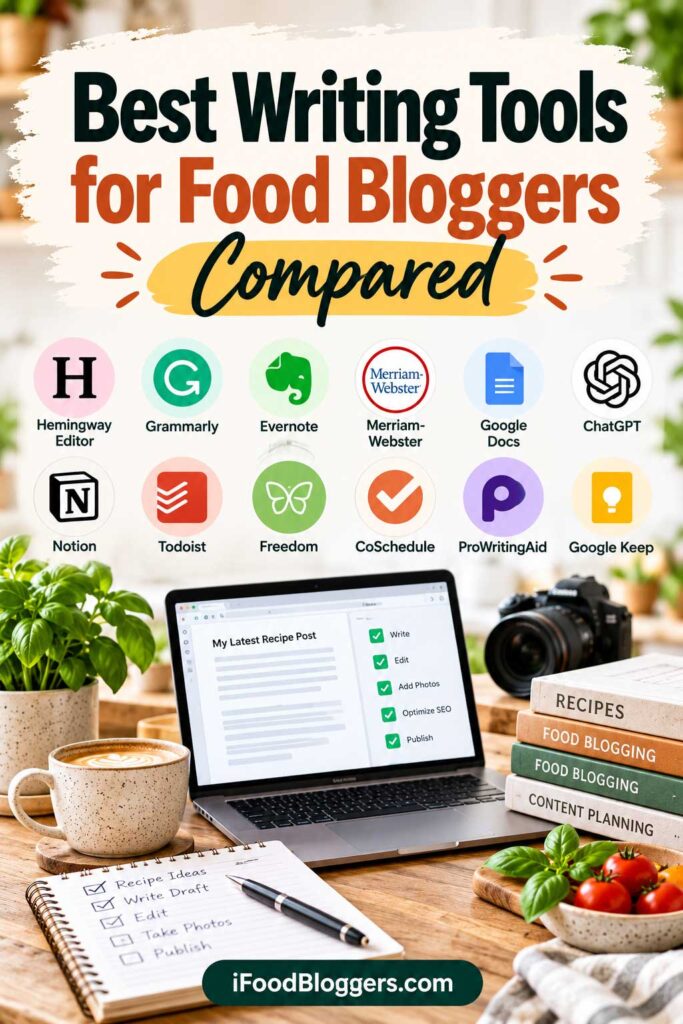
Best Writing Tools for Food Bloggers Compared
You don’t need all of these tools to run a successful food blog. The best choice depends on where you need the most help—writing, editing, organizing ideas, managing your publishing schedule, or simply staying focused.
Affiliate Disclosure: Some links in this article may be affiliate links. If you make a purchase or sign up through one of these links, iFoodBloggers may earn a commission at no extra cost to you.
Here is a quick comparison of the best writing tools for food bloggers covered in this guide.
| Tool | Best For | Main Use | Free Option |
|---|---|---|---|
| Hemingway Editor | Readability | Simplifying sentences and improving clarity | Yes |
| Grammarly | Grammar and proofreading | Grammar, spelling, clarity, and tone | Yes |
| Evernote | Research and organization | Saving research, notes, and recipe ideas | Limited |
| Merriam-Webster | Word choice | Definitions, spelling, synonyms, and vocabulary | Yes |
| Google Docs | Drafting | Writing, editing, and collaboration | Yes |
| ChatGPT | Brainstorming and editing | Ideas, outlines, rewriting, and content assistance | Yes |
| Notion | Content planning | Editorial calendars, notes, and workflows | Yes |
| Todoist | Task management | Deadlines, recurring tasks, and publishing workflows | Yes |
| Freedom | Focus | Blocking distracting websites and apps | Limited |
| CoSchedule | Editorial planning | Content calendars and marketing workflows | Limited |
| ProWritingAid | Detailed editing | Grammar, style, readability, and long-form editing | Limited |
| Google Keep | Quick notes | Capturing recipe ideas, reminders, and checklists | Yes |
On the other hand, if your biggest problem is keeping track of dozens of recipe ideas and articles in different stages of production, a tool such as Notion or Todoist may provide more value than adding another grammar checker.
Start with the areas that currently slow you down the most, then add tools only when they make your workflow noticeably easier.
Best Writing Tools for Food Bloggers
The best writing tool isn’t necessarily the one with the most features. It is the one that solves a specific part of your workflow and is easy enough to use consistently. The tools below can help with different stages of food blogging, from drafting and editing recipes to organizing ideas, managing deadlines, and staying focused while you write.
Hemingway Editor
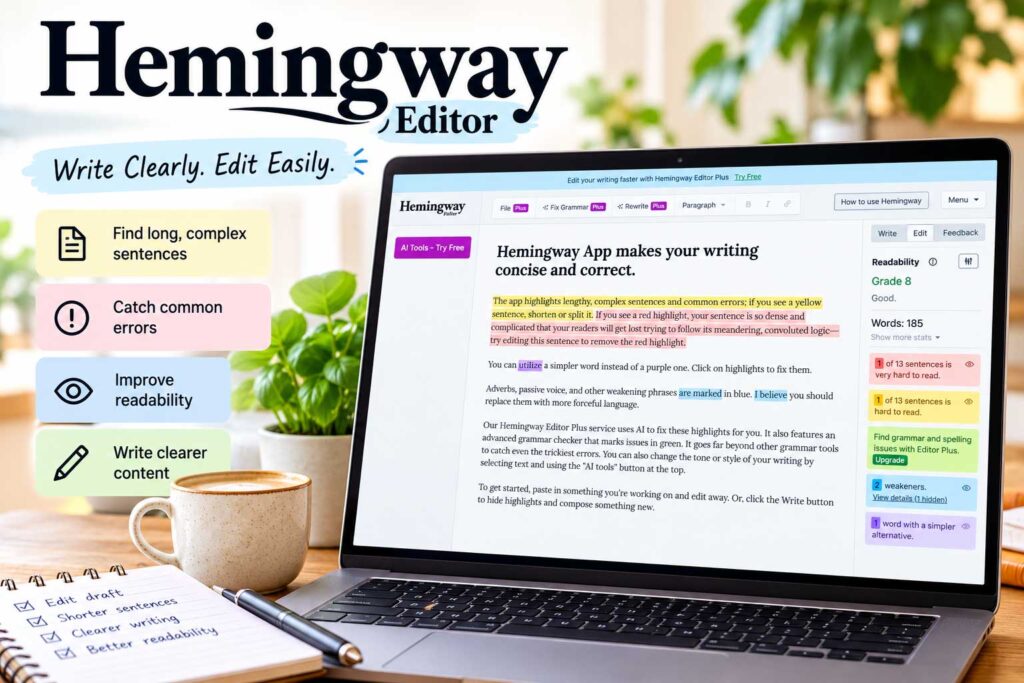
Hemingway Editor is designed to make writing clearer and easier to read.
It can help identify long or complicated sentences, excessive adverbs, passive voice, and phrases that may make an article harder to follow. That’s particularly useful when you’re editing recipe introductions, cooking instructions, tutorials, and other content that should be easy to understand quickly.
For food bloggers, Hemingway is less about making every sentence perfect and more about spotting places where the writing has become unnecessarily complicated.
For example, a cooking instruction shouldn’t make readers stop halfway through the sentence to figure out what they’re supposed to do next.
Hemingway can be especially useful near the end of your editing process. Write naturally first, then use the tool to find sections that might benefit from simplification.
Hemingway Editor Pros and Cons
| Pros | Cons |
|---|---|
| Helps identify difficult-to-read sentences | Suggestions can sometimes oversimplify your writing |
| Highlights passive voice and excessive adverbs | Not every highlighted sentence needs to be changed |
| Useful for improving recipe instructions and tutorials | Less focused on grammar than dedicated grammar checkers |
| Simple interface that’s easy to learn | Can encourage overly short sentences if followed too strictly |
| Useful for a final readability check | Shouldn’t replace your own editing and judgment |
Best for: Improving readability and simplifying complicated sentences.
Grammarly
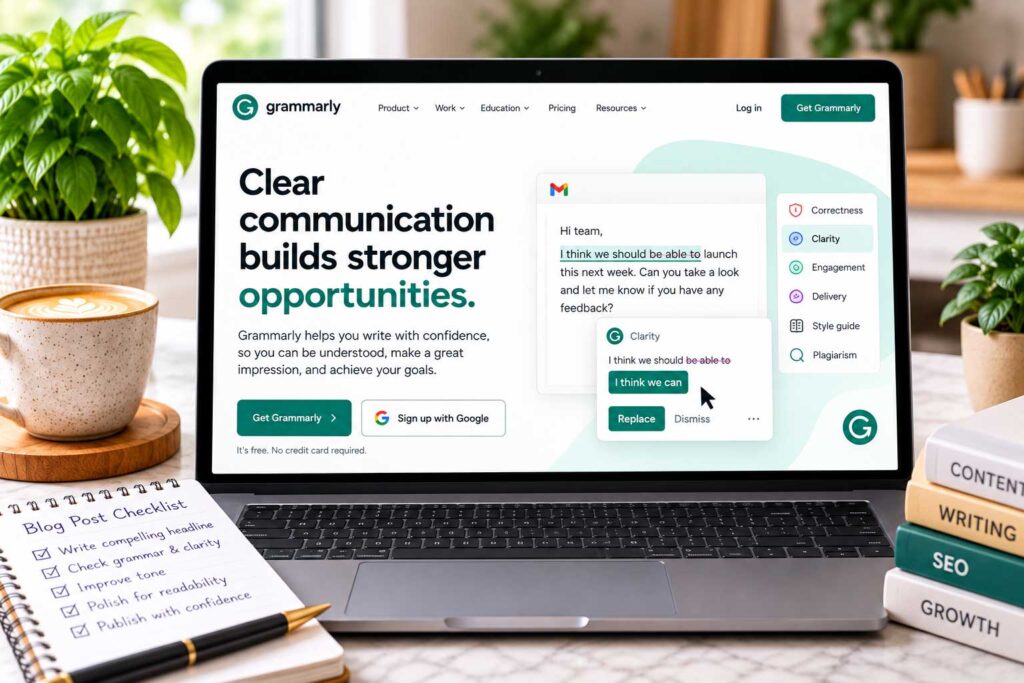
Grammarly is one of the best-known writing assistants for checking grammar, spelling, punctuation, clarity, tone, and sentence structure.
For food bloggers, it can be useful throughout the writing process. You might use Grammarly to proofread a detailed recipe guide, clean up an email newsletter, improve a Pinterest description, or simply catch a typo before publishing a new post.
Grammarly has also expanded beyond basic grammar checking. Its writing features can help with rewriting sentences, adjusting tone, paraphrasing, proofreading, and AI-assisted writing.
What makes Grammarly useful for everyday blogging is that you don’t have to change your entire writing routine to use it. It works across many of the browsers, websites, and applications bloggers already use, which means you can catch writing problems without constantly copying your content into a separate editor.
However, don’t accept every suggestion automatically.
Recipe content often includes unusual ingredient names, regional dishes, measurements, conversational phrases, and deliberate stylistic choices. Grammarly may occasionally suggest changing something that is perfectly appropriate in context.
Use it as a second set of eyes rather than allowing it to make every editing decision for you.
Grammarly Pros and Cons
| Pros | Cons |
|---|---|
| Checks grammar, spelling, punctuation, and sentence structure | Some advanced features require a paid plan |
| Provides suggestions for clarity and tone | Suggestions aren’t always appropriate for food and recipe writing |
| Works across many websites, browsers, and applications | Can encourage unnecessary changes if you accept every suggestion |
| Useful for blog posts, emails, social content, and other writing | AI-generated rewrites may sound less like your natural voice |
| Helps catch small mistakes before publishing | Doesn’t replace careful human proofreading |
Best for: Grammar checking, proofreading, clarity, and everyday editing.
Evernote
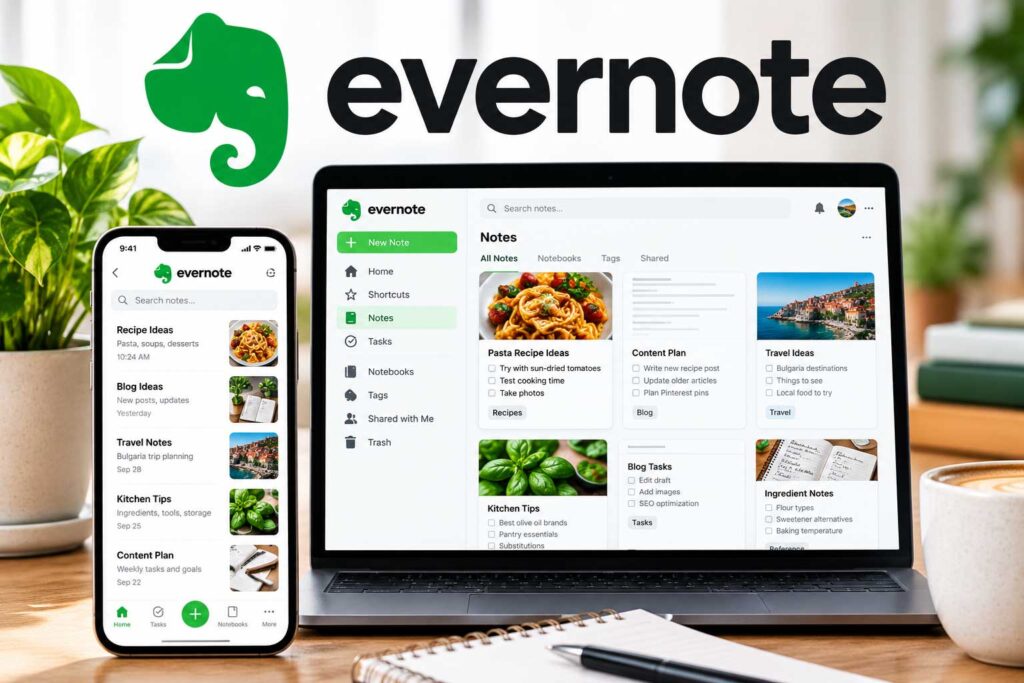
Evernote can be particularly useful during the research and planning stages of food blogging.
Recipe ideas rarely arrive exactly when you’re sitting in front of WordPress ready to write. You might discover an interesting dish while traveling, see an ingredient at a market, find a useful source online, or suddenly think of five recipe ideas while making dinner.
Evernote gives you a central place to capture those ideas before they disappear.
You can organize notes into notebooks, save useful webpages with the Web Clipper, create tasks, store reference material, and keep research connected to the content you’re planning.
For a food blogger, that might mean separate notebooks for recipe ideas, seasonal content, ingredient research, photography notes, affiliate products, restaurants to visit, or older articles that need updating.
Evernote also includes AI-assisted features for working with your notes, although you don’t need them to get value from the platform.
The goal isn’t to build a complicated organizational system. It’s simply to have one dependable place where useful research and good content ideas don’t get lost.
Evernote Pros and Cons
| Pros | Cons |
|---|---|
| Keeps recipe ideas, notes, and research in one place | Can be more than you need if you only want simple notes |
| Web Clipper makes it easy to save useful online research | Some features are limited to paid plans |
| Useful for organizing seasonal and future content ideas | Large collections can become cluttered without a simple organization system |
| Available across multiple devices | There are strong free or lower-cost alternatives |
| Combines notes, tasks, research, and organizational features | Not designed specifically for managing a food blog or editorial calendar |
Best for: Research, recipe ideas, notes, and content organization.
Merriam-Webster Dictionary
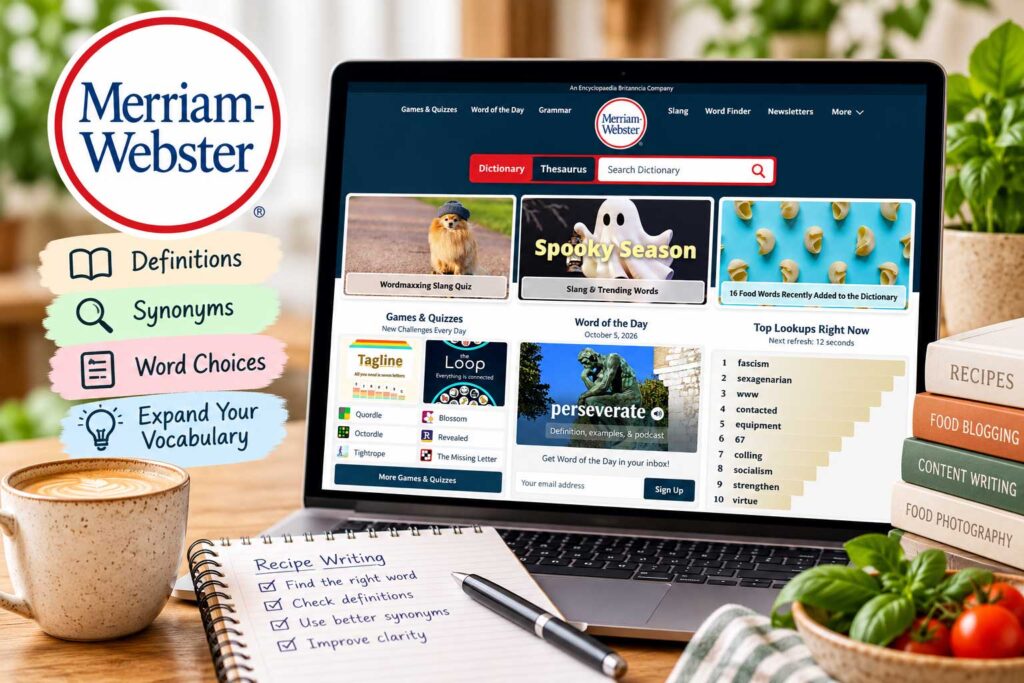
Merriam-Webster may seem like a simple addition to a list of writing tools, but a reliable dictionary and thesaurus can be surprisingly useful when you’re writing food content.
Food bloggers often work with descriptive language. You may be trying to explain the texture of freshly baked bread, describe the flavor of a spice, or find a better word after realizing you’ve used “delicious” five times in the same article.
Merriam-Webster gives you quick access to definitions, synonyms, example sentences, pronunciations, and information about how words are commonly used.
The thesaurus is particularly helpful when editing. Instead of automatically replacing a repeated word with the first synonym you find, you can compare alternatives and choose one that actually fits the meaning of the sentence.
It can also be useful when you’re unsure about spelling or whether a particular word is being used correctly. That’s important when publishing content that you want readers to trust.
Just be careful not to overcomplicate your writing in an attempt to make it sound more sophisticated. Clear, familiar language is usually better for recipes and cooking instructions.
Merriam-Webster Pros and Cons
| Pros | Cons |
|---|---|
| Provides reliable definitions, spelling, and word usage | Doesn’t provide full-document editing |
| Includes a useful thesaurus for finding alternative words | Less useful for grammar and sentence structure |
| Helpful when checking unfamiliar or easily confused words | Synonyms still need to be evaluated in context |
| Easy to use while editing articles | Won’t organize or manage your writing workflow |
| Useful for improving vocabulary without relying entirely on AI | Can lead to overly complicated wording if used too aggressively |
Best for: Definitions, spelling, vocabulary, synonyms, and improving word choice.
Google Docs
Google Docs is one of the simplest and most practical writing tools for food bloggers, especially if you prefer to draft and edit content before moving it into WordPress.
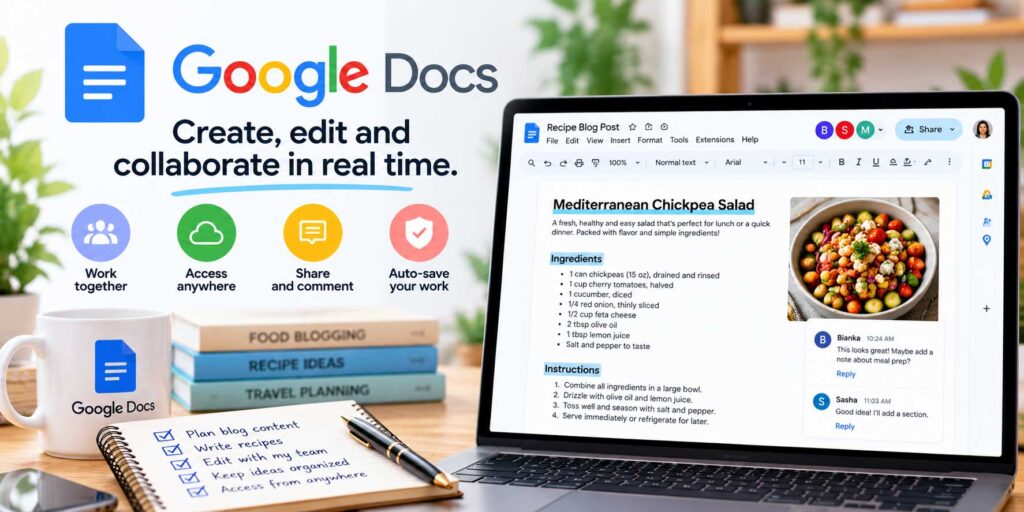
Because your documents are stored online, you can start writing a recipe on your computer and continue working on it later from another device. Changes are saved automatically, which also reduces the risk of losing a draft because you forgot to hit Save.
For food bloggers, Google Docs works well for much more than writing the main article. You can use it to draft recipes, organize cooking instructions, prepare email newsletters, write social media copy, or work on sponsored content.
Its collaboration features are particularly useful if you work with an editor, virtual assistant, recipe tester, or another writer. Multiple people can review the same document, leave comments, suggest edits, and respond to questions without creating several different versions of the file.
Google Docs also includes built-in spelling and grammar suggestions, voice typing, version history, word counts, and other everyday writing features. While these tools aren’t as specialized as dedicated editing software, they’re often enough for basic drafting and proofreading.
One potential downside is that formatting doesn’t always transfer perfectly when moving a complex document into WordPress. For most articles, however, keeping the original draft relatively simple makes the process straightforward.
Google Docs Pros and Cons
| Pros | Cons |
|---|---|
| Free for personal use with a Google account | Offline use requires some setup |
| Automatically saves changes while you work | Formatting may need cleanup when transferring content to WordPress |
| Excellent commenting and collaboration features | Editing features aren’t as advanced as dedicated writing tools |
| Version history makes it easy to recover earlier edits | Large or heavily formatted documents can become cumbersome |
| Works across computers, phones, and tablets | Can become disorganized if you create hundreds of documents without a folder system |
Best for: Drafting blog posts, collaborative editing, recipe development, and keeping working copies of content online.
If you’re still deciding where to build and publish your content, our guide to the best blogging platforms for food bloggers compares WordPress and other popular options.
ChatGPT
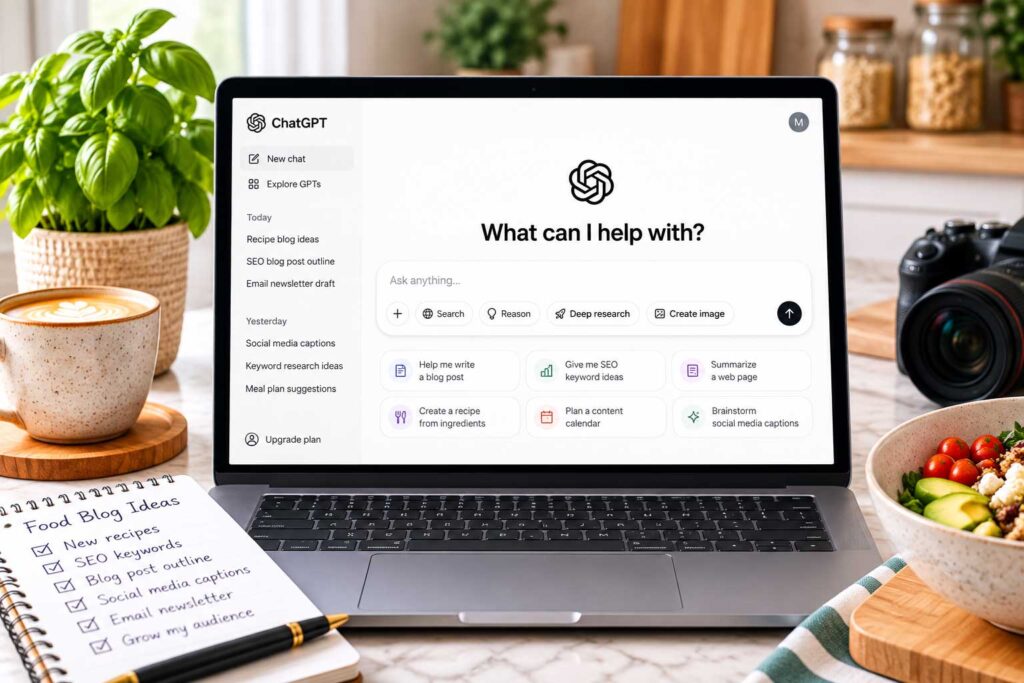
ChatGPT can be a useful writing assistant for food bloggers when it is used to support your own knowledge, experience, and creativity rather than replace them.
One of its biggest strengths is versatility. You can use ChatGPT to brainstorm recipe-related topics, create an article outline, organize rough notes, rewrite an awkward paragraph, generate headline ideas, improve readability, or find different ways to explain something that isn’t quite working.
For example, you might have all the information for an article but struggle with how to organize it. Instead of asking AI to write the entire post, you can provide your notes and ask for several possible structures. You can then choose the approach that best fits what you want readers to learn.
AI can help organize ideas, but it shouldn’t replace actual search research. Our guide to the best free keyword research tools for food bloggers explains how to find topics and search terms people are actually using.
It can also be useful during editing. You can ask ChatGPT to identify repetitive sections, simplify complicated sentences, improve transitions, or point out questions a reader might still have after reading a draft.
Food bloggers should be more careful when using AI for factual information. Cooking temperatures, food safety recommendations, nutrition information, ingredient substitutions, product specifications, prices, and other factual claims should be checked against reliable sources before publication.
The same applies to personal experience. AI hasn’t cooked your recipe, tasted the finished dish, visited the restaurant you’re reviewing, or tested the kitchen product sitting on your counter. Those firsthand details need to come from you.
Used thoughtfully, ChatGPT can speed up some of the slower parts of writing while leaving the expertise, testing, opinions, and personality that make your food blog unique in your hands.
ChatGPT Pros and Cons
| Pros | Cons |
|---|---|
| Useful for brainstorming topics, titles, and article structures | Can produce incorrect or outdated information |
| Can help rewrite and simplify difficult sections | AI-generated writing can sound generic without careful editing |
| Useful for reviewing drafts and identifying gaps | Doesn’t have your firsthand cooking or testing experience |
| Can adapt content for different formats and audiences | Factual claims still need to be verified |
| Helps turn rough notes and ideas into an organized starting point | Overusing it can weaken your individual writing style and voice |
Best for: Brainstorming, outlining, editing, rewriting, organizing ideas, and overcoming writer’s block.
Notion
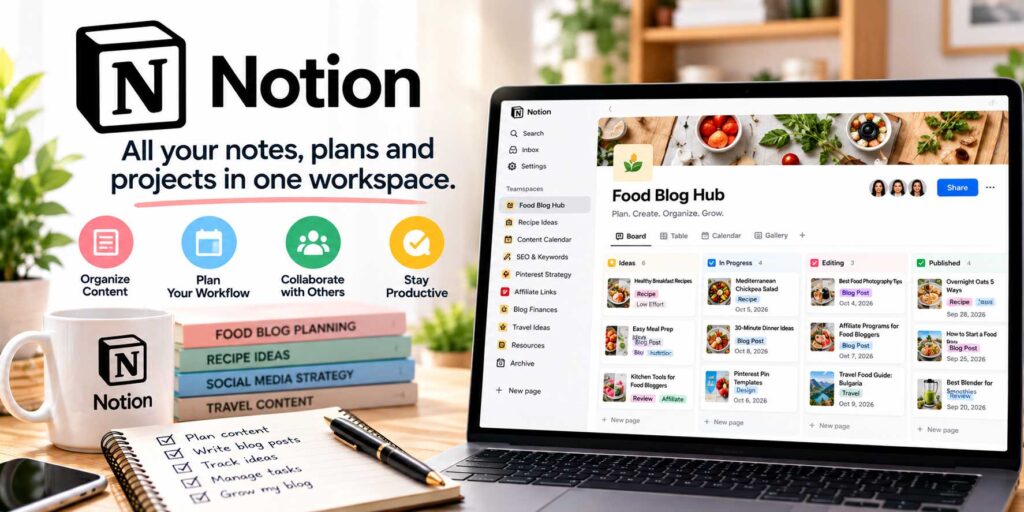
Notion combines writing, note-taking, project management, databases, and content organization in one workspace. For food bloggers managing a growing library of recipes and content ideas, that flexibility can be particularly useful.
Instead of keeping recipe ideas in one app, your editorial calendar somewhere else, and your publishing checklist in another, you can build a simple system that keeps everything connected.
For example, you could create a content database with the post title, category, target keyword, publishing status, planned publication date, and notes for each article. A recipe could move from Idea to Testing, Photography, Writing, Editing, and finally Published as you work on it.
Notion is also useful for creating reusable templates. If every recipe post follows a similar workflow, you can create a template containing the sections and tasks you need instead of rebuilding the same structure each time.
Its collaborative features can help if you work with writers, editors, photographers, virtual assistants, or other contributors. Notes, instructions, project information, and content plans can all live in the same workspace.
Notion also includes AI features that can assist with tasks such as summarizing information, working with existing notes, and drafting or editing content.
The main drawback is flexibility itself. It’s easy to spend too much time building complicated dashboards and databases instead of actually creating content. Start with a simple system and add features only when you genuinely need them.
Notion Pros and Cons
| Pros | Cons |
|---|---|
| Combines writing, notes, databases, and project management | Can feel overwhelming when you first start using it |
| Excellent for creating a food blog content calendar | Setting up a customized workspace takes time |
| Reusable templates can streamline recurring content workflows | Easy to overcomplicate your system with unnecessary databases |
| Useful for managing recipes through different production stages | Some advanced features require a paid plan |
| Supports collaboration and shared workspaces | Dedicated writing apps may offer stronger editing features |
Best for: Editorial calendars, recipe workflows, content planning, notes, and managing a growing food blog.
Todoist
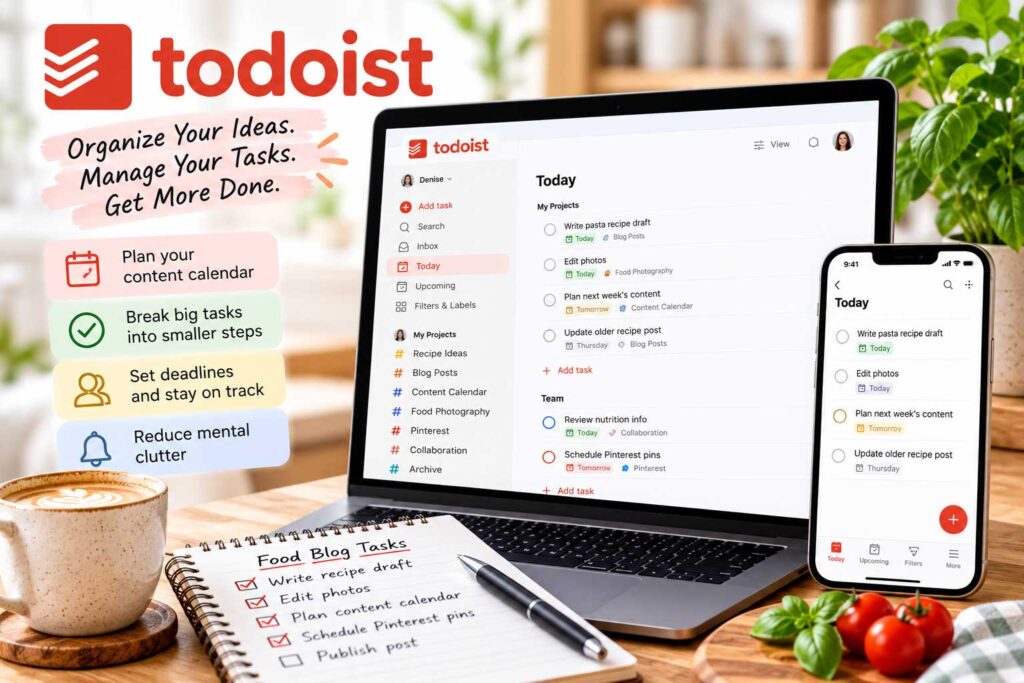
Todoist is a task-management tool that can help food bloggers keep track of everything that needs to happen before and after a post is published.
Writing is only one part of producing food content. A single recipe might involve testing, photography, photo editing, keyword research, writing, proofreading, publishing, internal linking, Pinterest graphics, email promotion, and future updates.
Todoist lets you turn those steps into manageable tasks instead of trying to remember everything yourself.
You can create projects for different websites or areas of your business, add due dates and recurring tasks, organize work by priority, and break larger projects into smaller steps. For example, instead of adding one task called “Publish pasta recipe,” you could create separate tasks for testing the recipe, taking photos, writing the article, editing the draft, and preparing promotional content.
Recurring tasks can also be useful for activities that are easy to forget, such as checking older posts, updating seasonal content, reviewing broken links, or planning next month’s editorial calendar.
Todoist works best when you keep the system relatively simple. Creating a task for every tiny action can eventually become another form of procrastination. Use it to keep important work moving rather than documenting every minute of your day.
Todoist Pros and Cons
| Pros | Cons |
|---|---|
| Simple way to organize writing and publishing tasks | Not a dedicated writing or editing tool |
| Supports due dates, priorities, recurring tasks, and reminders | Advanced features may require a paid plan |
| Useful for breaking large content projects into smaller steps | Can become cluttered if you create too many tasks |
| Works well for managing multiple blogs or projects | Less flexible than a full content-management workspace |
| Available across multiple devices | Requires consistent use to remain useful |
Best for: Managing writing tasks, publishing deadlines, recurring work, and multi-step content projects.
Freedom
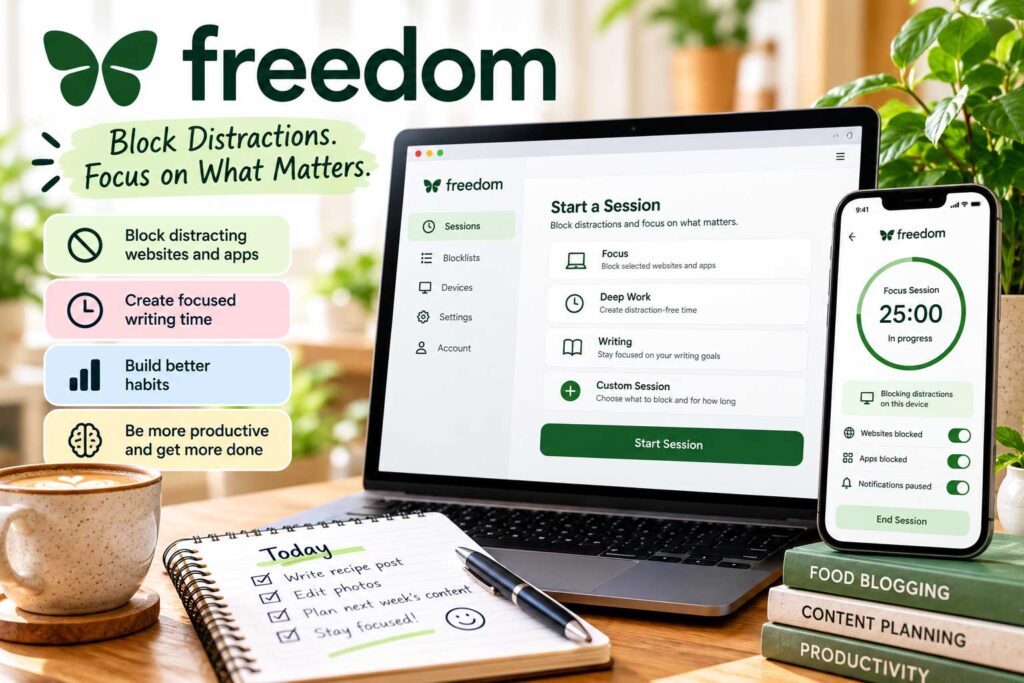
Freedom takes a different approach to writing productivity. Instead of helping you write or organize content, it helps remove the websites and apps that can keep you from writing in the first place.
Distractions can be a real problem when working on a food blog. You might open Pinterest to research an idea, check Instagram for a minute, look at an email notification, and suddenly realize that half an hour has disappeared.
Freedom lets you temporarily block distracting websites and apps so you can create dedicated periods for focused work.
For example, you could schedule a distraction-free session while writing a new recipe, editing photos, updating an older article, or planning next month’s content. If you regularly write at the same time each week, recurring sessions can also help turn focused writing into part of your routine.
One particularly useful feature is the ability to use Freedom across multiple devices. Blocking a distracting website on your computer isn’t very helpful if you immediately pick up your phone instead.
Of course, a website blocker won’t automatically make you productive. You still need a clear task to work on. Freedom is most useful when you already know what you need to accomplish but find yourself repeatedly distracted while doing it.
Freedom Pros and Cons
| Pros | Cons |
|---|---|
| Blocks distracting websites and apps while you work | Doesn’t help with the actual writing or editing process |
| Can help create dedicated periods for focused writing | Some useful features require a paid plan |
| Works across multiple devices | May feel unnecessary if distractions aren’t a major problem for you |
| Scheduled sessions can help build a regular writing routine | Requires some setup to decide what should be blocked |
| Useful for writing, editing, and other concentration-heavy tasks | You still need good work habits and a clear plan |
Best for: Reducing digital distractions and creating focused writing sessions.
CoSchedule
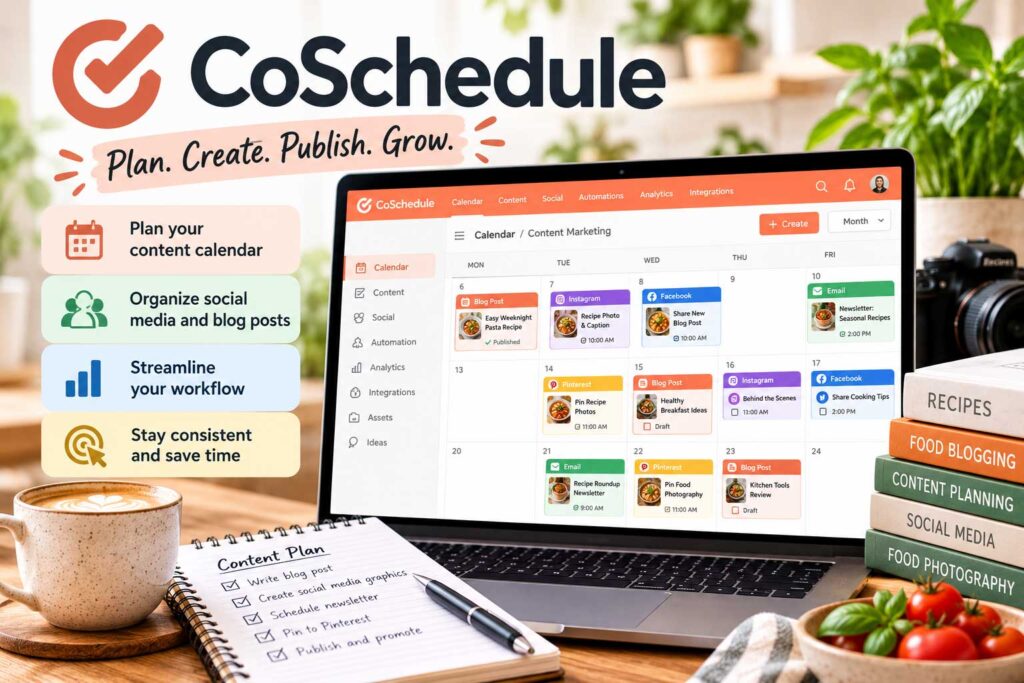
CoSchedule is designed to help marketers and content creators plan, organize, and manage their content from a central calendar.
For food bloggers, that can be useful when the workload extends beyond simply writing recipes. A new post may also need photography, editing, social media promotion, an email newsletter, Pinterest content, and other marketing tasks.
Email is especially useful because it gives you a direct way to bring existing readers back when you publish something new. If you’re building your list, compare the best email marketing platforms for food bloggers.
CoSchedule can help bring those activities together so you can see what is being worked on, what is scheduled to publish, and what still needs attention.
A marketing calendar can be especially helpful for planning seasonal food content. Instead of realizing in late November that you wanted to publish several Thanksgiving recipes, you can plan those articles weeks or months ahead and give yourself enough time for recipe testing, photography, writing, and promotion.
Food bloggers working with other people can also use a shared calendar and workflow to coordinate assignments and deadlines. This can become increasingly useful as a blog grows and writers, editors, photographers, or virtual assistants become involved.
CoSchedule also offers additional marketing and content tools, but not every food blogger will need the entire platform. If you publish only occasionally and manage everything yourself, a simpler calendar or task-management tool may be enough.
CoSchedule Pros and Cons
| Pros | Cons |
|---|---|
| Helps organize content and marketing activities in one calendar | May be more complex than a small food blog needs |
| Useful for planning seasonal recipes well in advance | Some features require paid plans |
| Can help coordinate writing, publishing, and promotional tasks | Not primarily a writing or grammar tool |
| Helpful for teams and multi-step content workflows | There are simpler alternatives for basic editorial planning |
| Makes it easier to visualize upcoming content and deadlines | Takes time to set up and maintain a detailed workflow |
Best for: Editorial calendars, seasonal content planning, marketing workflows, and coordinating larger publishing schedules.
ProWritingAid
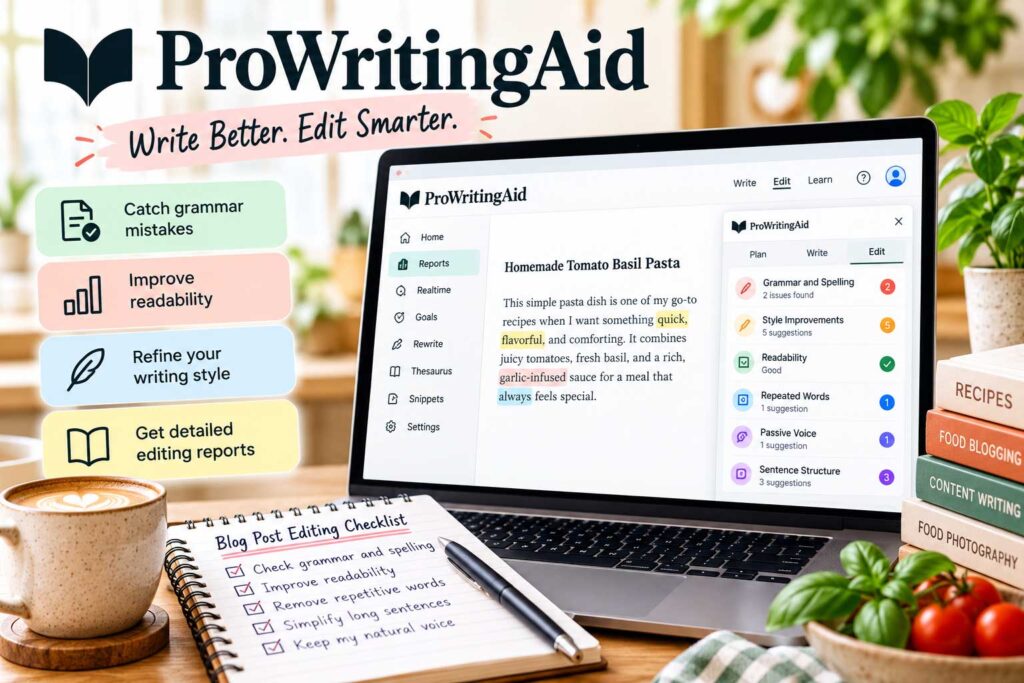
ProWritingAid is a writing and editing tool that can help identify grammar problems, awkward sentences, repetition, readability issues, and other areas where your writing could be improved.
For food bloggers, it can be particularly useful when editing longer articles. Recipe posts often grow beyond the recipe itself and include ingredient explanations, substitution tips, step-by-step instructions, FAQs, storage advice, and other supporting information.
When you’re working on a long article, it becomes surprisingly easy to repeat the same words and phrases or make sections more complicated than they need to be.
ProWritingAid provides detailed feedback that can help you spot some of those patterns. Rather than focusing only on individual spelling or grammar mistakes, its reports can also help you examine broader aspects of your writing, such as readability, sentence structure, repeated wording, and overall style.
That depth can be useful when you’re editing an important evergreen guide or trying to improve older content that was written several years ago.
However, more feedback isn’t always better. A detailed editing tool can produce a lot of suggestions, and trying to satisfy every recommendation can make natural writing sound mechanical.
As with Grammarly and Hemingway, treat ProWritingAid as an editor that points out potential problems—not as a set of rules that every sentence must follow.
ProWritingAid Pros and Cons
| Pros | Cons |
|---|---|
| Provides detailed grammar and style suggestions | The amount of feedback can feel overwhelming |
| Useful for identifying repetition and readability problems | Some advanced features require a paid plan |
| Helpful when editing longer blog posts and guides | Not every recommendation will fit your writing style |
| Goes beyond basic spelling and grammar checks | May be more editing power than casual bloggers need |
| Can help identify writing habits you repeatedly overlook | Following too many suggestions can make writing sound less natural |
Best for: Detailed editing, long-form content, readability, style, and identifying repeated writing problems.
Google Keep
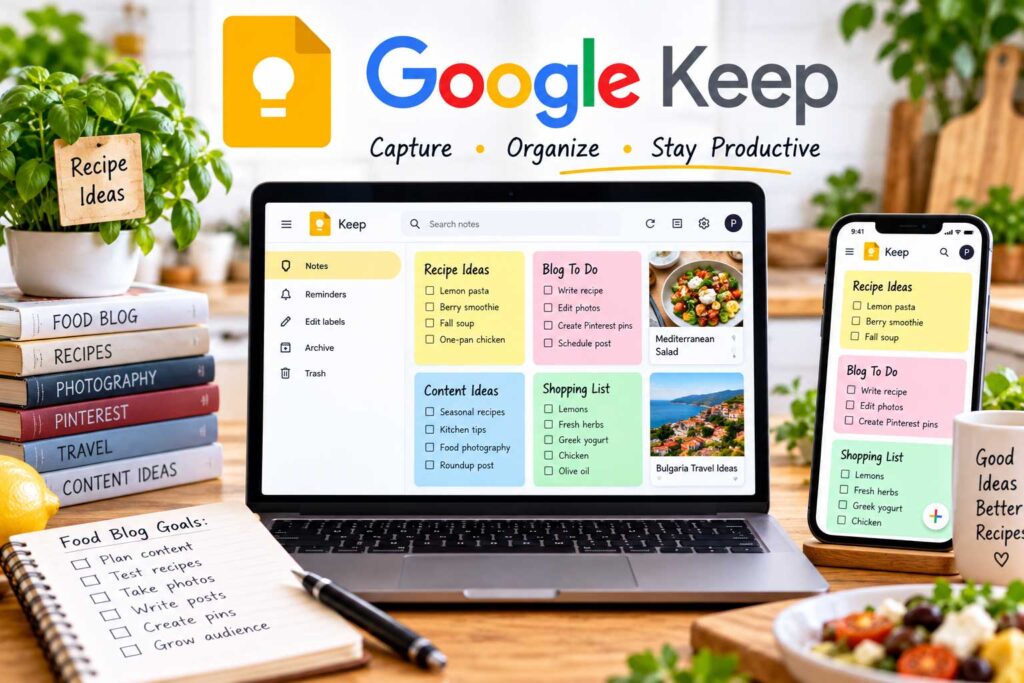
Google Keep is a simple note-taking tool that works well for food bloggers who want somewhere quick to capture ideas without setting up a complicated productivity system.
Food content ideas can appear anywhere. You might think of a recipe variation while grocery shopping, notice an interesting ingredient at a farmers market, or remember an article you want to update while you’re away from your computer.
Google Keep makes it easy to capture those thoughts before you forget them.
You can create notes and checklists, add images, organize notes with labels, and access your saved information across devices when you’re signed in to your Google account.
For example, you could keep separate notes for upcoming recipe ideas, ingredients to test, photography reminders, seasonal topics, or improvements you want to make to existing articles.
Its simplicity is also its biggest advantage over more advanced tools such as Notion. You don’t have to create databases, design dashboards, or build a detailed organizational system before you can start using it.
That simplicity also means Google Keep isn’t ideal for managing a large editorial operation. Once you have hundreds of articles, multiple contributors, or a complicated publishing schedule, a dedicated project-management or content-planning tool will give you much more control.
For quickly capturing ideas, however, simple can be exactly what you need.
Google Keep Pros and Cons
| Pros | Cons |
|---|---|
| Simple and quick to start using | Limited compared with full project-management tools |
| Useful for capturing recipe and content ideas on the go | Not designed for managing an editorial calendar |
| Supports notes, checklists, images, and labels | Organization can become difficult with a very large number of notes |
| Syncs across devices through your Google account | Doesn’t offer advanced writing or editing features |
| Good lightweight alternative to more complicated productivity systems | Not suitable for complex team workflows |
Best for: Quickly capturing recipe ideas, reminders, checklists, and content notes.
How to Choose the Right Writing Tools for Your Food Blog
With so many writing and productivity apps available, it’s easy to assume that adding more tools will automatically make you more productive. Usually, the opposite happens.
The best approach is to identify where your current writing process slows down and choose a tool that solves that specific problem.
Consider Your Biggest Writing Problem
Start by asking what actually takes up your time.
If you regularly struggle with grammar and awkward sentences, Grammarly, Hemingway Editor, or ProWritingAid may be useful. If you have plenty of ideas but can’t keep them organized, Evernote, Notion, or Google Keep may solve a bigger problem.
For bloggers who know exactly what they need to write but constantly get distracted, a focus tool such as Freedom could provide more value than another writing app.
Choose the problem first and the tool second.
Look at Your Existing Workflow
A new tool should make your workflow simpler, not force you to rebuild everything around it.
If you already draft every article in Google Docs, for example, look for tools that work naturally alongside that process. If you write directly in WordPress, adding several separate editing platforms may create unnecessary copying and formatting work.
Think about where you currently research, draft, edit, organize, and publish your content. The fewer unnecessary steps a new tool adds, the more likely you are to continue using it.
Think About How Often You’ll Use It
A tool you use every day can be worth paying for even if it saves only a small amount of time during each writing session.
A specialized tool you need twice a year is different.
Consider how often the problem occurs before adding another subscription to your blogging expenses. Your most valuable tools will usually become a natural part of your regular workflow.
Don’t Let Tools Replace Your Own Voice
Grammar checkers and AI writing assistants can make editing faster, but their suggestions shouldn’t automatically determine how your content sounds.
Food blogs benefit from personality and firsthand experience. Readers want to know what happened when you made the recipe, what an ingredient tastes like, which substitutions worked, and what you would do differently next time.
Use writing tools to make those experiences easier to understand—not to remove the personality that makes them worth reading.
Avoid Using Too Many Tools
It’s easy to create an impressive collection of productivity apps and still struggle to finish an article.
Every additional platform introduces another place to check, another notification to manage, and potentially another subscription to pay for.
For many food bloggers, a simple combination works best: one place to write, one tool for editing, and one system for organizing content.
Add something else only when you can clearly explain what problem it solves.
Free vs. Paid Writing Tools for Food Bloggers
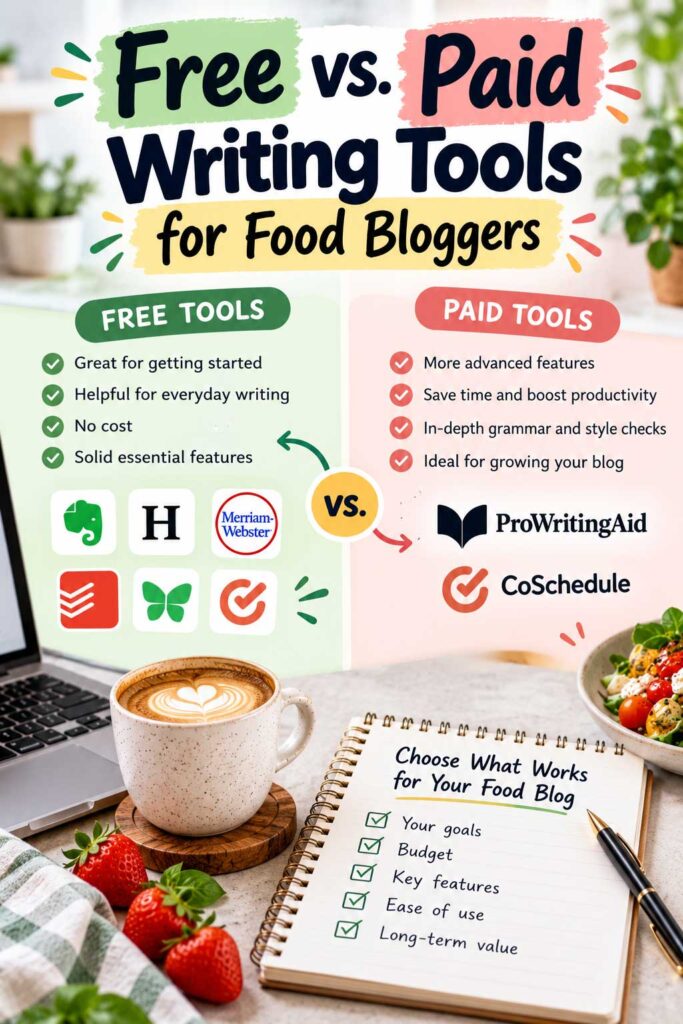
You don’t need an expensive collection of software to write a successful food blog. In fact, many bloggers can build an effective writing workflow using mostly free tools.
Google Docs can handle drafting and collaboration, Google Keep can capture quick ideas, Merriam-Webster can help with definitions and word choice, and free versions of tools such as Grammarly can cover many everyday proofreading needs.
Paid tools become more useful when they solve a recurring problem or save enough time to justify the cost.
When Free Writing Tools Are Enough
Free tools are usually a good place to start, especially if you’re building a new food blog or publishing only a few articles each month.
At this stage, your priority should be creating useful content and developing a consistent publishing process rather than paying for every productivity feature available.
A simple setup might include Google Docs for drafting, Grammarly or Hemingway for basic editing, Google Keep for capturing ideas, and a calendar or task manager for keeping track of upcoming content.
That combination can cover a surprisingly large portion of a food blogger’s writing workflow without creating another significant monthly expense.
When a Paid Tool May Be Worth It
As your blog grows, paying for certain tools can make sense when they remove a genuine bottleneck.
For example, advanced editing features may become more valuable when you’re publishing several long articles each month. A more powerful content-management system can also be worthwhile when you’re coordinating dozens of posts, multiple websites, or several contributors.
The same principle applies to productivity tools. If blocking distractions consistently gives you several additional productive writing sessions each month, paying for a focus app may be worthwhile.
Don’t upgrade simply because a free plan displays an upgrade button. Upgrade when you can identify a feature that will genuinely improve your workflow.
Think About the Cost Per Use
A useful way to evaluate paid writing software is to consider how often you’ll actually use it.
A $100 annual subscription that you use several times every week may provide much better value than a $30 tool you open twice a year.
Before subscribing, ask yourself whether the tool saves time, improves your writing, helps you publish more consistently, or replaces another service you’re already paying for.
If the answer is no, the free version—or a different tool entirely—is probably the better choice.
For most food bloggers, the goal isn’t to build the biggest collection of writing software. It’s to create a small, reliable toolkit that helps you produce better content without adding unnecessary costs or complexity.
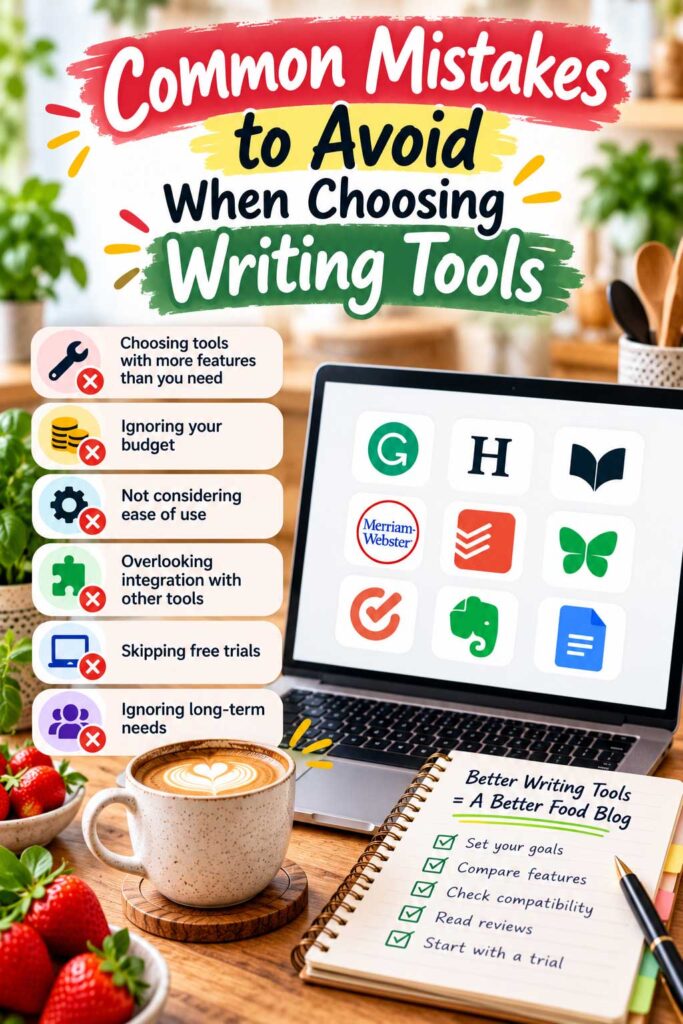
Common Mistakes to Avoid When Choosing Writing Tools
Writing tools can save time and improve your workflow, but only when they solve a real problem. Adding more apps doesn’t automatically mean you’ll write faster or produce better content.
The problems usually start when the tools become more important than the work they’re supposed to improve.
Accepting Every Editing Suggestion
Grammar and readability tools are designed to identify potential problems, not make final editorial decisions.
A sentence can be grammatically correct and still sound nothing like you. Likewise, a sentence flagged as difficult may be perfectly appropriate for the audience or topic.
Food writing also contains ingredient names, regional dishes, measurements, cooking terminology, and conversational expressions that automated tools may misunderstand.
Review suggestions individually instead of clicking “accept all.”
Letting AI Replace Firsthand Experience
AI tools can help brainstorm, organize, rewrite, and edit content, but they shouldn’t invent experiences you haven’t had.
If you tested a recipe three times before getting the texture right, that’s useful information only you can provide. The same applies to describing flavor, explaining why a substitution worked, reviewing a kitchen product, or recommending a restaurant you’ve actually visited.
Use AI to help communicate your experience—not manufacture it.
Paying for Features You Don’t Use
Premium plans often include impressive lists of features, but that doesn’t mean you’ll actually use them.
Before upgrading, spend some time with the free version when one is available. Pay attention to which limitations genuinely interrupt your workflow.
If you can’t identify a specific paid feature that would regularly save you time or improve your content, you probably don’t need the upgrade yet.
Building a Complicated Productivity System
It’s surprisingly easy to spend hours creating dashboards, categories, tags, templates, and automated workflows instead of writing.
Your organizational system should make it easier to publish content.
If maintaining the system starts taking more time than the work it is supposed to organize, simplify it.
A basic editorial calendar with the article title, target keyword, status, and publication date may be all you need.
Forgetting About Your Readers
The purpose of these tools isn’t to achieve a perfect readability score or eliminate every sentence an algorithm considers unusual.
The goal is to make your content more useful.
A clear recipe instruction, helpful substitution note, honest observation from testing, or straightforward explanation will usually matter more to readers than satisfying every recommendation from a writing tool.
Use technology to improve your content, but keep the reader at the center of your decisions.
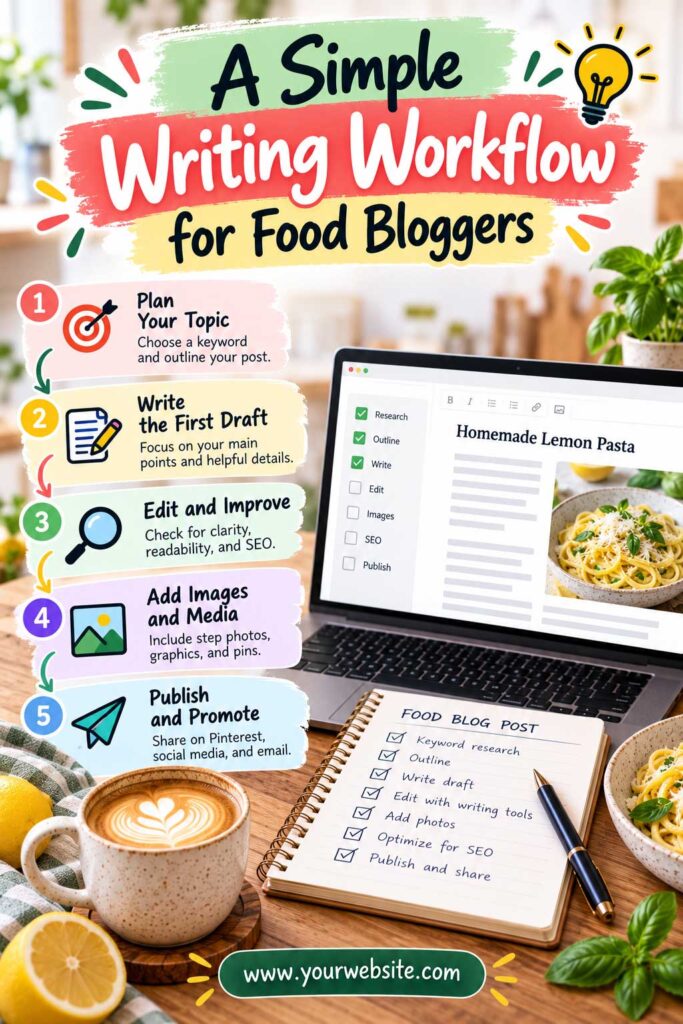
A Simple Writing Workflow for Food Bloggers
A good writing workflow doesn’t have to be complicated. What matters is knowing where your ideas live, where you write, how you edit, and what needs to happen before and after you hit Publish.
Here’s one simple way to put the tools in this guide to work.
Step 1: Capture the Idea
When a recipe or article idea comes to you, save it immediately.
A simple tool such as Google Keep works well for quick ideas, while Evernote or Notion may be better if you also want to save research, notes, photos, and other supporting information.
At this stage, don’t worry about creating a detailed outline. The goal is simply to make sure a good idea doesn’t disappear.
If finding ideas is the problem rather than organizing them, our guide to the best content discovery tools for food bloggers covers tools and methods for finding new topics, trends, questions, and content opportunities.
Step 2: Research and Plan the Article
Before writing, decide what the article needs to accomplish.
If organic search is part of the goal, do your keyword research before you build the article around an assumption. These free keyword research tools for food bloggers can help you evaluate topics before you start writing.
Collect reliable sources when they’re necessary, review your own recipe-testing notes, and think about the questions a reader may have before, during, and after preparing the dish.
You can also use ChatGPT to brainstorm possible sections or organize your existing notes into an outline. The final structure should still reflect what your readers actually need rather than including sections simply to make the article longer.
Step 3: Write the First Draft
Google Docs, WordPress, Notion, or another comfortable writing environment can all work for drafting.
The important thing is to write without constantly stopping to perfect every sentence.
Get your experience, instructions, tips, and important information onto the page first. Editing every paragraph while you’re still drafting can make an article take much longer to finish.
Step 4: Edit for Clarity and Readability
Once the draft is complete, start editing.
Grammarly can help identify grammar and spelling problems, while Hemingway Editor can highlight sentences that may be unnecessarily difficult to read. ProWritingAid can provide a more detailed review when you’re working on longer content.
You don’t need to run every article through all three.
Choose the editing tool that fits your workflow, review its suggestions, and keep the changes that genuinely improve the article.
Step 5: Add Your Personal Experience
Before publishing, look for places where your firsthand knowledge can make the article more useful.
Explain what you learned while testing the recipe. Mention a substitution that worked—or one that didn’t. Clarify the step where someone might make a mistake. Describe the texture or flavor when that information helps readers know what to expect.
These details are difficult for generic writing tools to reproduce because they come from actually doing the work.
Step 6: Complete a Final Proofread
Give the finished article one last read before publishing.
Check ingredient quantities, cooking times, temperatures, headings, links, image captions, and anything else where a small mistake could confuse a reader.
Reading important instructions slowly—or even reading them aloud—can help you notice missing words and awkward sentences that automated tools didn’t catch.
Step 7: Schedule Follow-Up Tasks
Publishing doesn’t necessarily mean the work is finished.
You may still need to create Pinterest graphics, send an email, share the article on social media, add internal links from older posts, or revisit the article later with updated information.
Todoist, Notion, or CoSchedule can help keep those tasks from being forgotten.
Once you find a workflow that feels natural, keep it. You can always add or replace a tool later when your publishing schedule, team, or content needs change.
Frequently Asked Questions About Writing Tools for Food Bloggers
What Are the Best Writing Tools for Food Bloggers?
The best writing tools for food bloggers depend on what part of the writing process you want to improve. Grammarly and Hemingway Editor are useful for editing, Google Docs works well for drafting and collaboration, Notion and Evernote can help organize content, and ChatGPT can assist with brainstorming, outlining, and editing.
You don’t need all of them. A small combination that fits your workflow is usually more effective.
What Is the Best Free Writing Tool for Bloggers?
Google Docs is one of the best free options for drafting blog content because it’s easy to use, automatically saves your work, and includes collaboration and basic editing features.
Other useful free options include Google Keep for capturing ideas, Merriam-Webster for checking definitions and word choice, and free versions of writing assistants such as Grammarly.
Is Grammarly Good for Food Bloggers?
Yes. Grammarly can help food bloggers catch spelling, grammar, punctuation, and clarity problems before publishing.
However, you shouldn’t automatically accept every suggestion. Recipe writing often contains ingredient names, regional dishes, measurements, and conversational language that automated editing tools may not interpret correctly.
Can Food Bloggers Use ChatGPT for Writing?
ChatGPT can be useful for brainstorming, outlining, reorganizing information, improving awkward sentences, and reviewing drafts.
It should be used as a writing assistant rather than a replacement for your own experience. Recipe testing, personal observations, original photography, opinions, and firsthand recommendations should come from you.
Factual information generated by AI should also be verified before publication.
Should I Write Blog Posts in Google Docs or WordPress?
Either approach can work.
Google Docs is particularly useful if you want a distraction-free drafting environment, automatic saving, version history, or collaboration with an editor or other contributor.
Writing directly in WordPress can be faster if you prefer to draft and format your content in the same place where it will eventually be published.
The better choice is whichever creates fewer unnecessary steps in your workflow.
Can AI Writing Tools Hurt a Food Blog?
AI tools themselves aren’t automatically a problem. The bigger risk is publishing inaccurate, generic, or unreviewed content that doesn’t provide readers with anything useful.
Food content benefits heavily from firsthand experience. Use AI to support your writing process while keeping your own recipe testing, expertise, opinions, photographs, and personal observations at the center of the article.
Build a Writing Toolkit That Works for You
The best writing tools for food bloggers aren’t necessarily the most expensive or the ones with the longest feature lists. They’re the tools that remove friction from your workflow and help you create better content more consistently.
If writing and editing are your biggest challenges, tools such as Grammarly, Hemingway Editor, or ProWritingAid can help polish your drafts. If organization is the problem, Notion, Evernote, Todoist, or Google Keep may be more useful. And if distractions keep interrupting your writing sessions, a tool such as Freedom may help you protect dedicated writing time.
Start with a simple setup that covers the areas where you need the most help. For many food bloggers, that might be Google Docs for drafting, one editing tool for proofreading, and one organizational tool for keeping ideas and deadlines under control.
Then adjust your toolkit as your blog grows.
Most importantly, remember that these tools should support your knowledge and creativity—not replace them. Your recipe testing, experiences, opinions, photographs, and personal voice are what make your content different from everything else already available online.
Use the tools to make that content clearer, easier to create, and more useful to the people reading it.
More Resources to Improve Your Food Blogging Workflow
Choosing the right writing tools is only one part of building a more efficient food blog. The right combination of hosting, keyword research, marketing tools, and productivity systems can also help you spend less time managing your website and more time creating useful content.
If you’re working on improving your food blog, these guides can help:
- Best Tools for Food Bloggers — Explore useful tools for SEO, photography, email marketing, social media, organization, and other parts of running a food blog.
- Best Productivity Tools for Food Bloggers — Find tools that can help organize your work, manage projects, reduce repetitive tasks, and stay productive.
- Best Free Keyword Research Tools for Food Bloggers — Learn how to find recipe and food-blog topics people are actually searching for.
- Best Email Marketing Platforms for Food Bloggers — Compare platforms for building an email list and staying connected with your readers.
- Best Blogging Platforms for Food Bloggers — Compare popular blogging platforms and decide which one makes the most sense for your food blog.